MovieZilla
Multiple video formats can be confusing for many people. And it happens that you can’t play back or edit a video just because your player or software doesn’t support the very video format. Under this circumstance, you can choose to convert your video into the MOV format, one that supports a lot of platforms and has a small file size, and quality of the video is high.
Here’s a way to convert FLV to MOV easily.
Step 1: Open MovieZilla
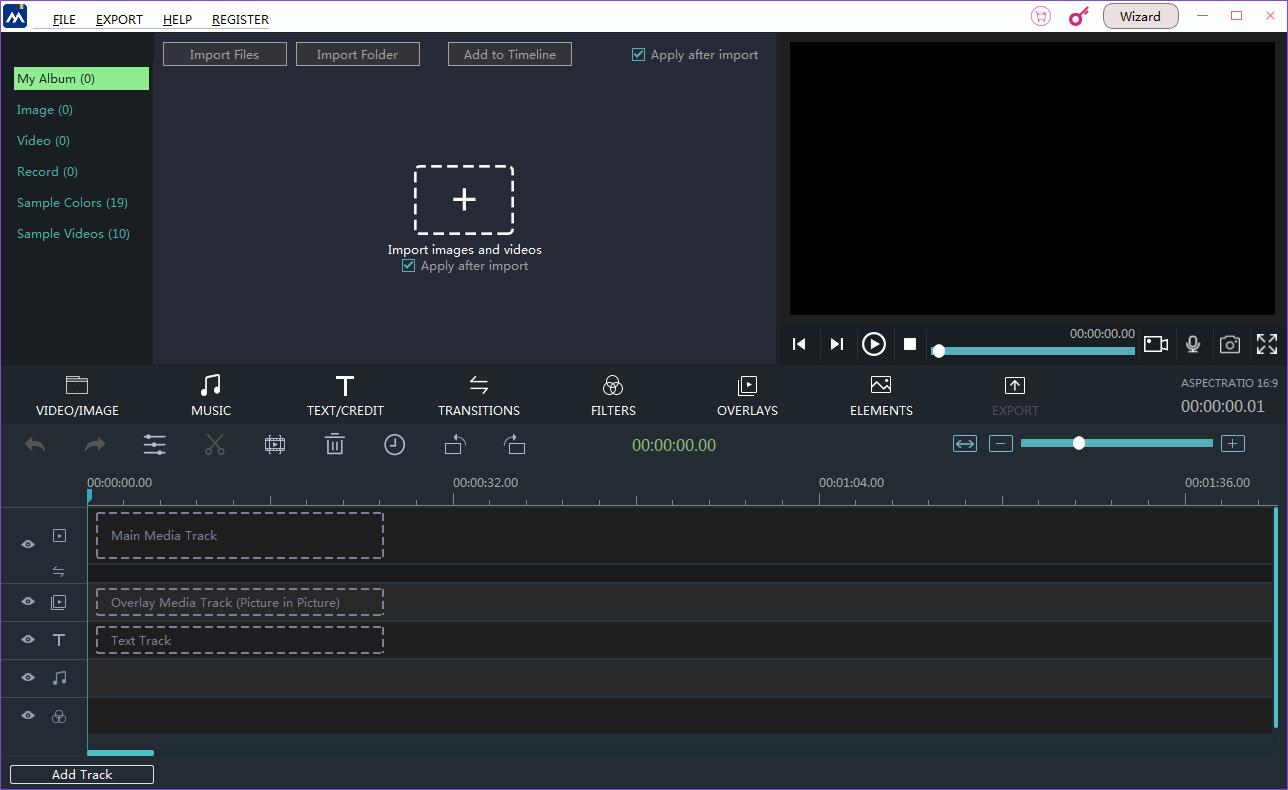
Double-click the MovieZilla icon on your desktop to open it. And you will see the main interface like this.
Step 2: Import your FLV file
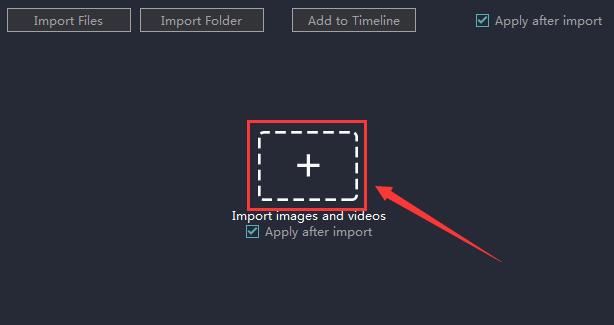
Click the “+” button in the middle to import your FLV file(s).
Click to select the clip you want to import.
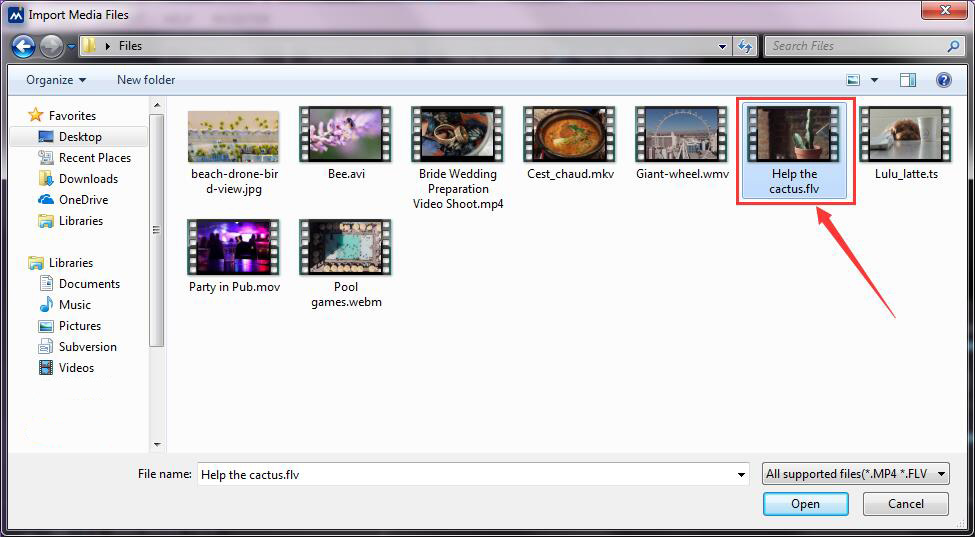
Then click “Open” to import it.
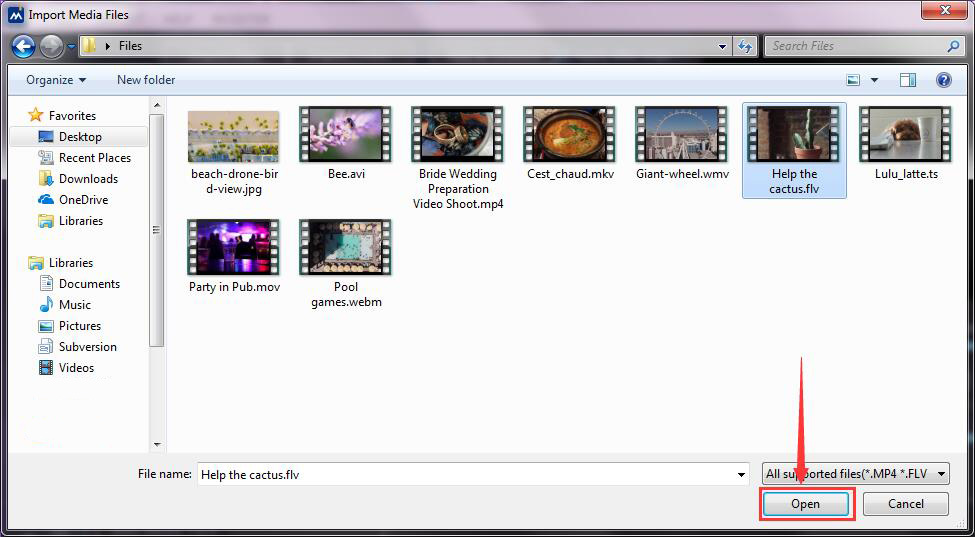
The file will be add to Timeline automatically if you haven’t changed the default setting.
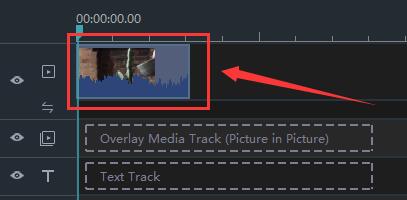
Step 3: Choose MOV format
You can so some editing if you want. Then, you can click “Export”.

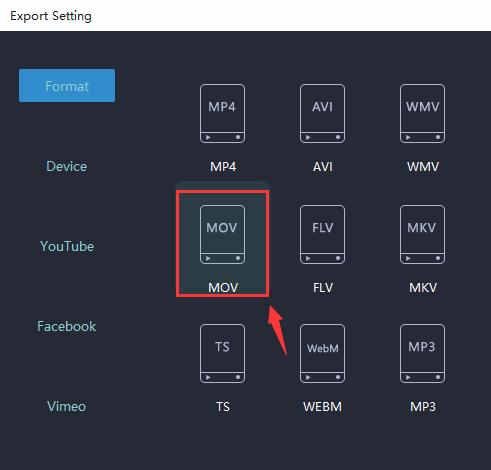
Choose MOV as your output format.
Step 4: Confirm settings
On the right part of the export interface, you can rename your video file and change its saving location.
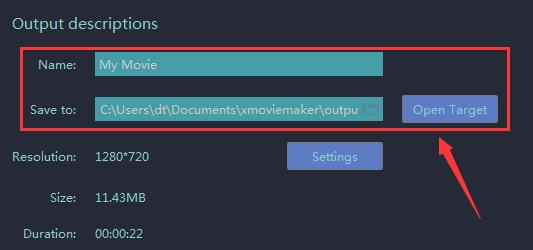
If you want to check more detailed settings, please click the “Settings” button below.
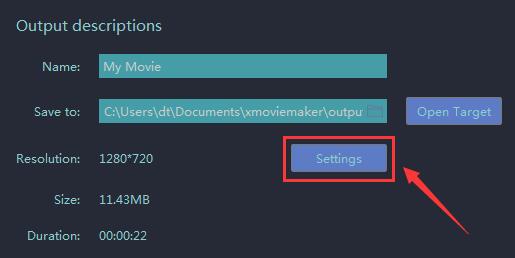
You can do some customized changes here.
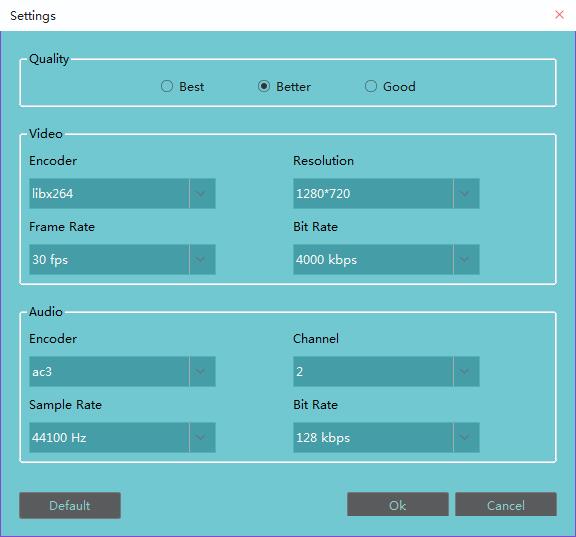
And don’t forget to click “OK” to confirm your changes.
Step 5: Export
The final step is to click “Export” button.
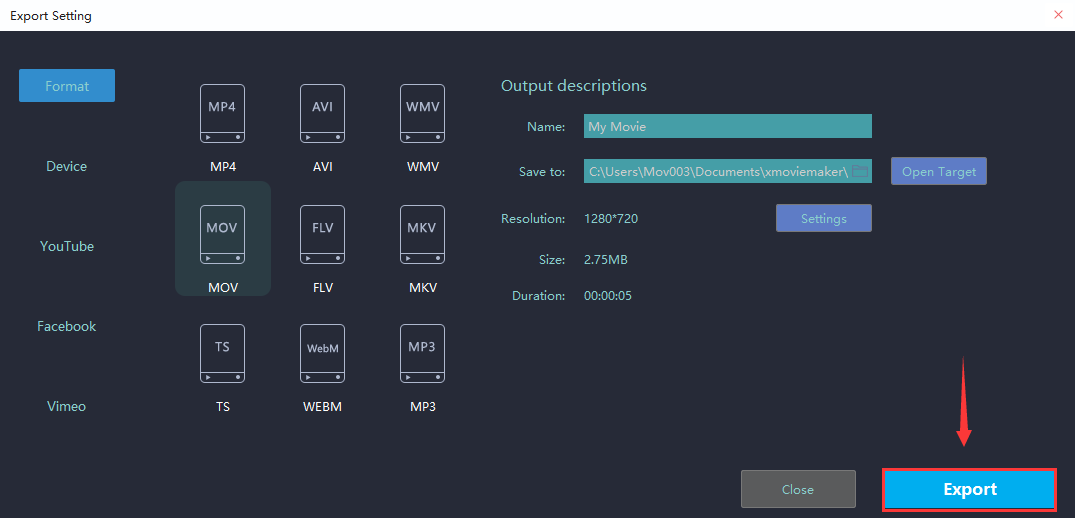
Wait for a while and it’ll be done soon.