 MovieZilla
Whether in life or on the Internet, we often see others can make elegant videos that made up of photos and videos. But what software can we use? Though this kind of software can be seen everywhere, some of them are large in size which means it would take a long time to download, let alone the operation is difficult to handle. Today we’ll introduce how to use easy mode of MovieZilla to make a YouTube video. The procedures is about import videos/images, select theme and music, preview and save and share.
Step1: Import Videos/Images
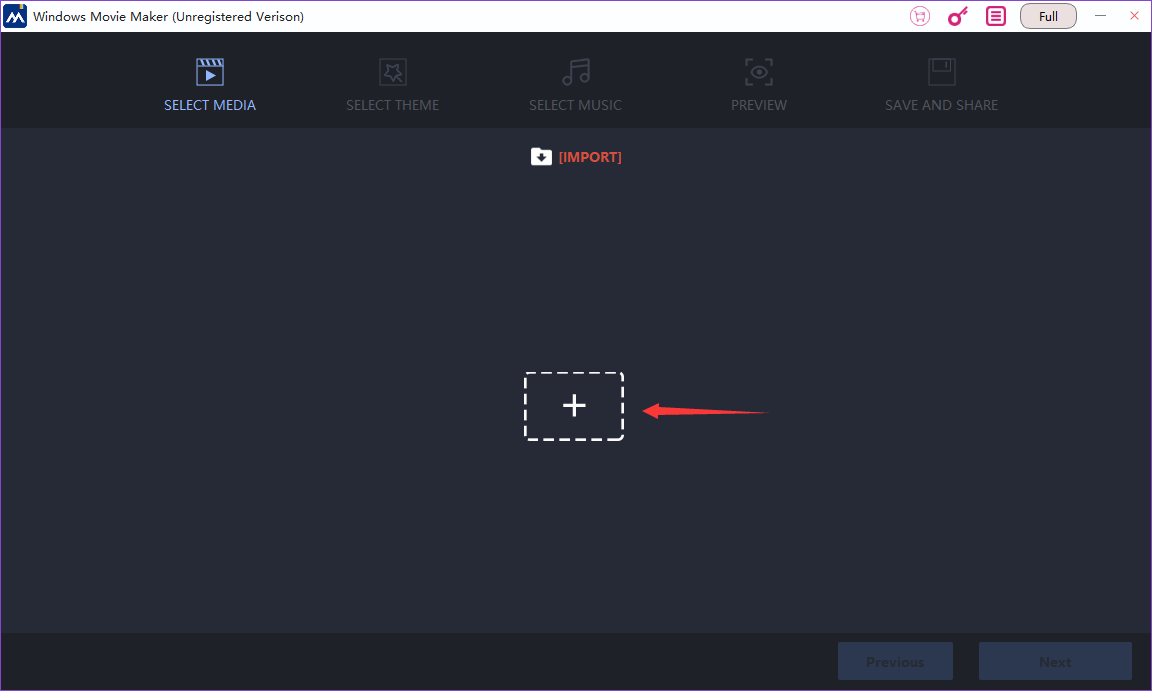
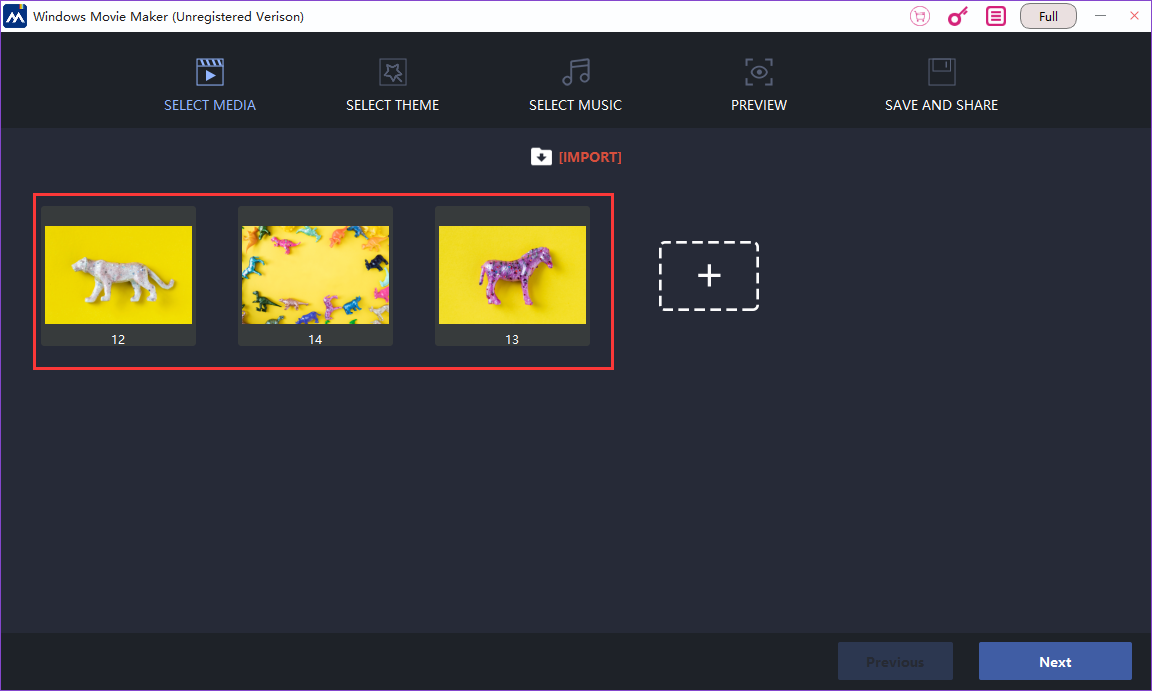
Click the icon on your desktop to open MovieZilla and choose “easy mode”. Then, click “+” in the middle of the screen to import videos/images. You can save your own videos/images in the computer.
Step2: Select Theme
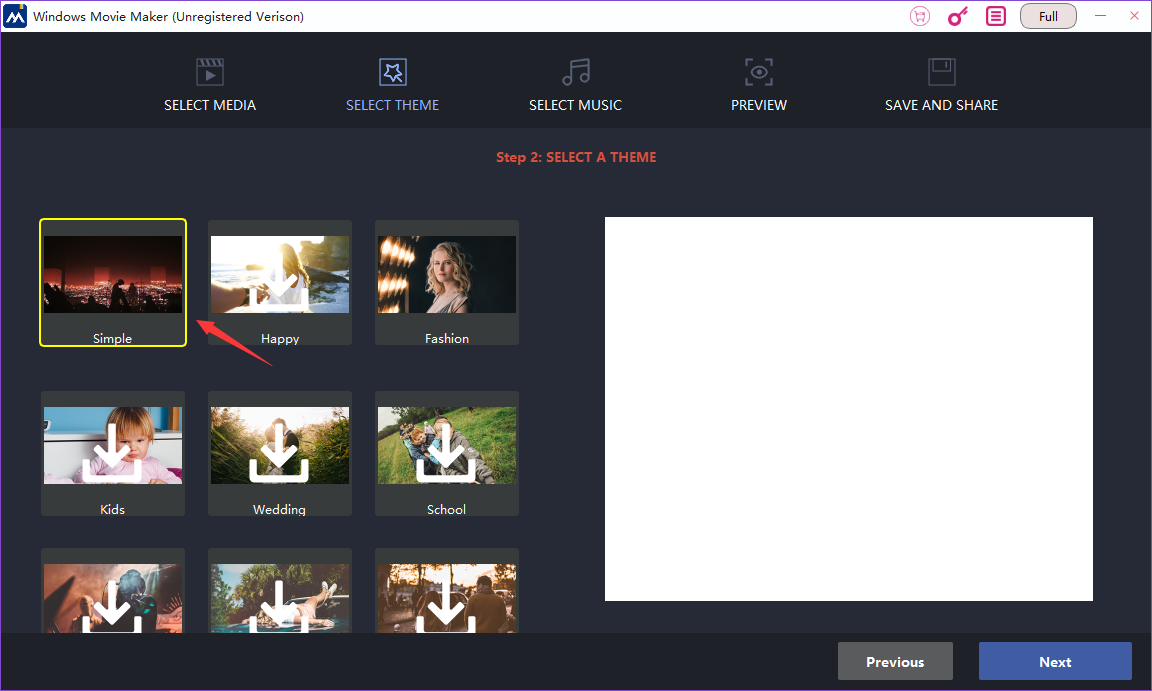
Next step is to choose a theme for your video. You can choose one from the list and in the right square window you can preview it.
Step3: Select Music
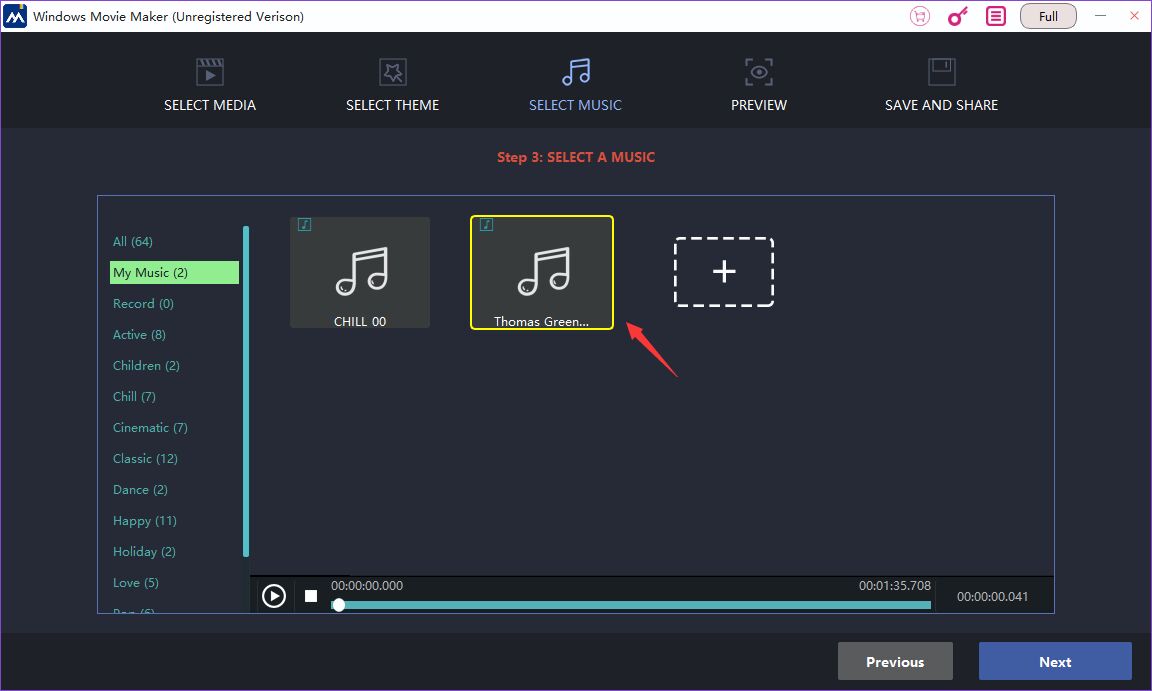
In this step, you can choose music as your background music of the video. Or you can choose your own music just like step1. You can click the “play” to have a listen.
Step4: Preview
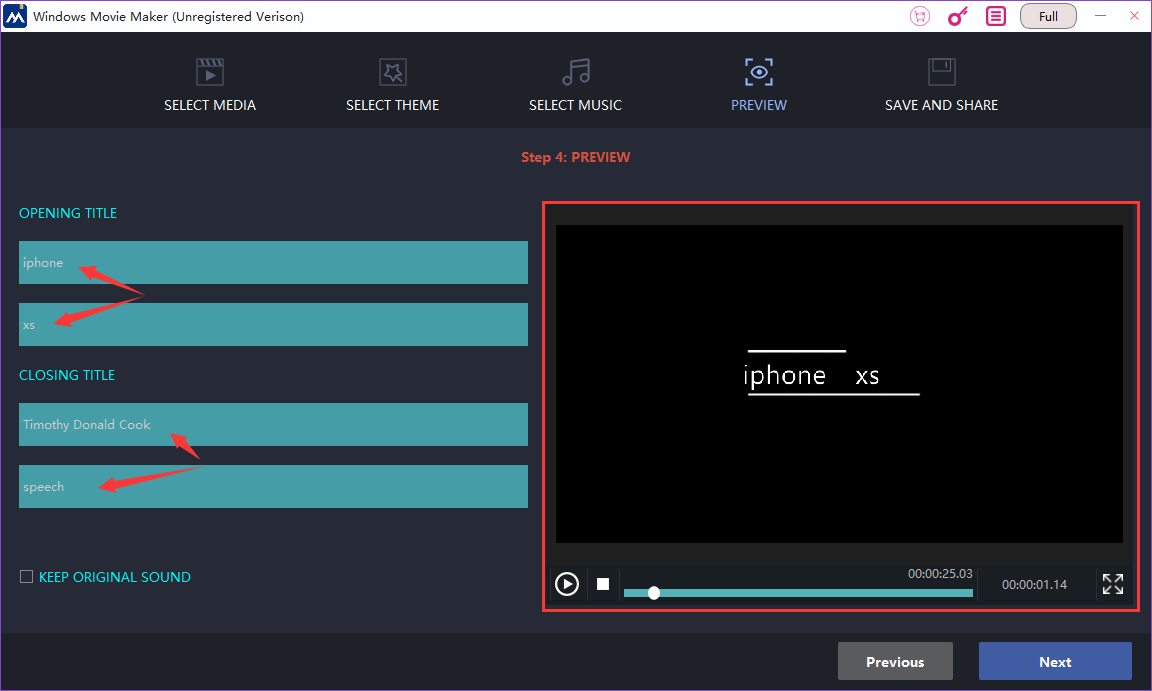
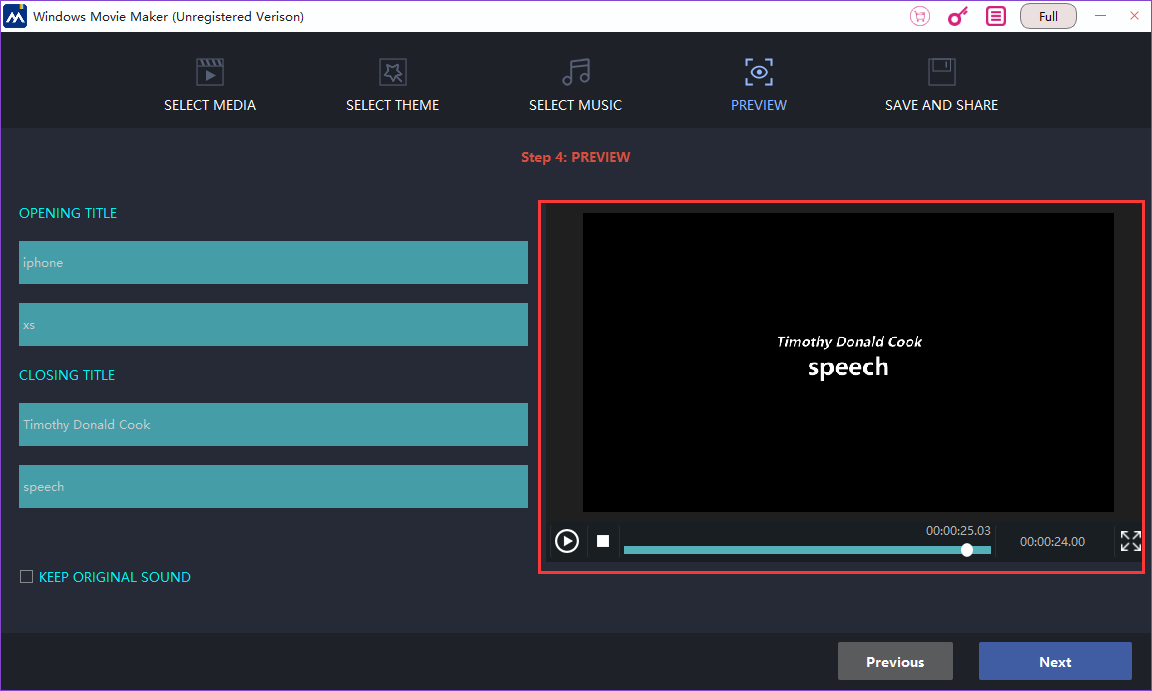
This step, you can add titles for your video. Titles are made up of opening title and closing title. The former is placed at the beginning of the video and the latter is contrary. Equally, in the right square frame, you can click “play” to preview your video. If there’s something or somewhere you are not satisfied with, you can click “previous” to renew it.
Step5: Save and Share
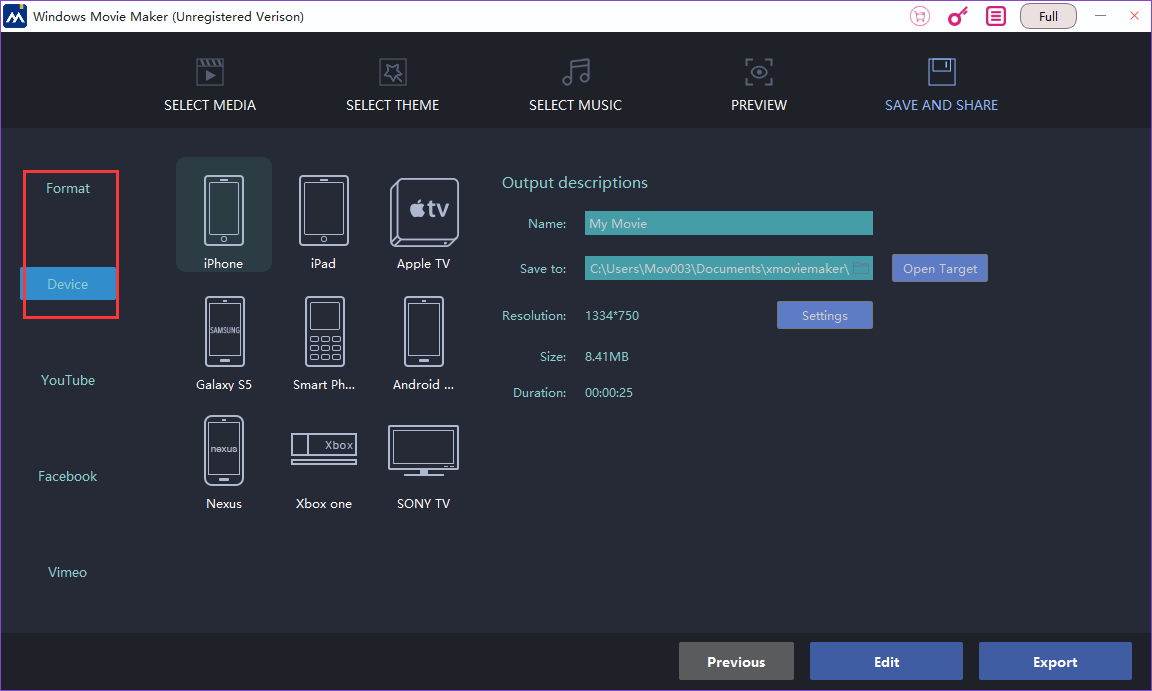
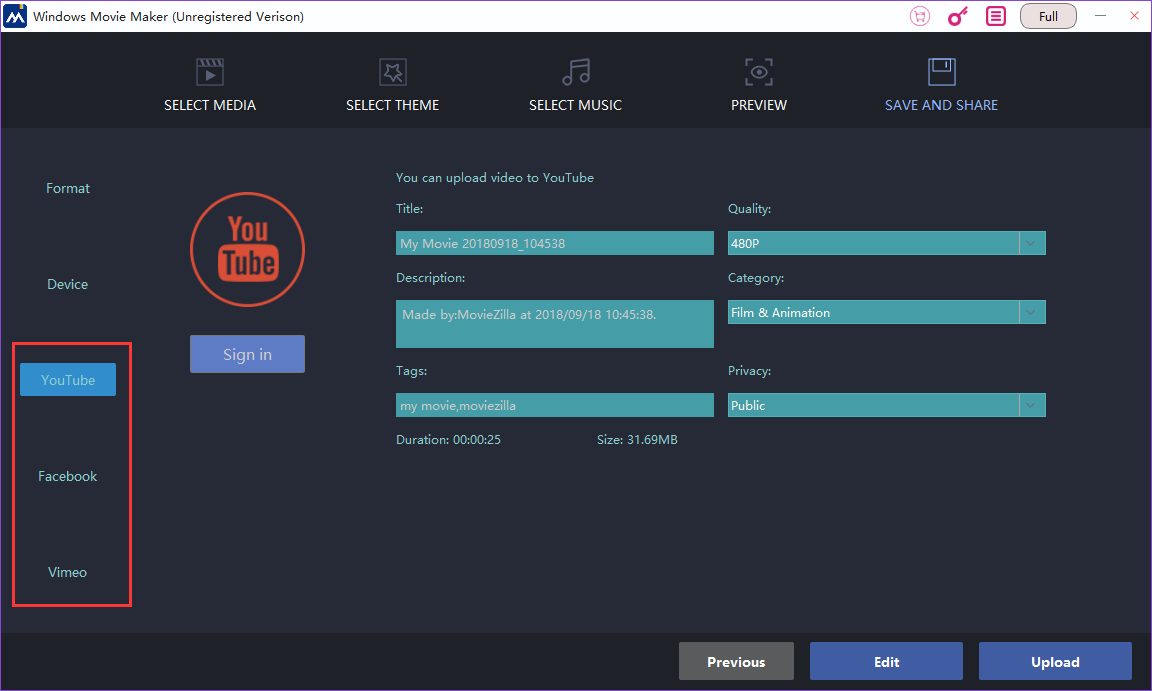
Last but not least, you should name your video and save it to your computer. Besides, on the left list, you can choose the format or device. For example, if you choose “iphone” in the device, your video will be able to be played on the iphone. The button “edit” allows you to continue your editing under the full featured mode, where you can customize more visual effects and so on. If you want to upload it to YouTube or Facebook, just click “upload”.
It is convenient and concise, isn’t it? Hope this article can help you make your own excellent video.

